Connect NetSuite to ToppFive
Follow these steps to create an OAuth2 Integration Record in your NetSuite account. This gives ToppFive's AI assistant secure access to your NetSuite data.
Prerequisites
You'll need:
- A NetSuite Administrator role (or a role with Integration permissions)
- Access to the SuiteCloud features settings
Enable SuiteCloud Features
Navigate to Setup > Company > Enable Features in your NetSuite account.
On the SuiteCloud tab, check:
- OAuth 2.0
- Client SuiteScript
- Server SuiteScript
Recommended — on the Analytics tab:
- SuiteAnalytics Workbook (free, usually already enabled)
Free, included in every NetSuite edition. Lets ToppFive read the Workbooks and Datasets you've already built, so the AI can match those reports exactly.
Click Save after enabling these features.
Create an Integration Record
Navigate to Setup > Integration > Manage Integrations > New.
ToppFive AIIn the Scope section, enable these checkboxes:
- REST Web Services (required)
How ToppFive accesses your NetSuite data.
- RESTlets (required — primary accuracy unlock)
Enables ToppFive's Definition Reader script to read your existing saved searches and financial reports exactly as you built them, for 1:1 parity with your NetSuite numbers, plus script diagnostics (execution logs and source viewing — requires the SuiteScript View permission on the connecting role). Changes such as creating saved searches or editing script files only ever run after you approve them in the ToppFive chat. After connecting, a guided 4-step install from the Integrations page completes setup — takes about 5 minutes, no coding.
These two scopes are required. SuiteAnalytics Connect is optional — check it only if it's licensed on your account and you want deeper analytics (you'll also tick the matching opt-in on the Connect NetSuite dialog in ToppFive). Leave NetSuite AI Connector Service unchecked — ToppFive never requests it.
https://backend.composio.dev/api/v3/toolkits/auth/callbackClick Save. NetSuite will display your Client ID and Client Secret.
Important: Copy these credentials now!
The Client Secret is only shown once. If you lose it, you'll need to create a new integration record.
Find Your Account ID
Your Account ID is the subdomain in your NetSuite URL — the part before .app.netsuite.com.
Production account:
Account ID: 1234567
Sandbox account:
Account ID: 1234567-sb1 (include the -sb1 suffix)
You can also find it under Setup > Company > Company Information in NetSuite.
Enter Credentials in ToppFive
- Go to the Integrations page
- Find the NetSuite card and click Connect
- Paste your Client ID and Client Secret
- Click Connect to NetSuite — you'll be taken to a Composio screen asking for your Account ID
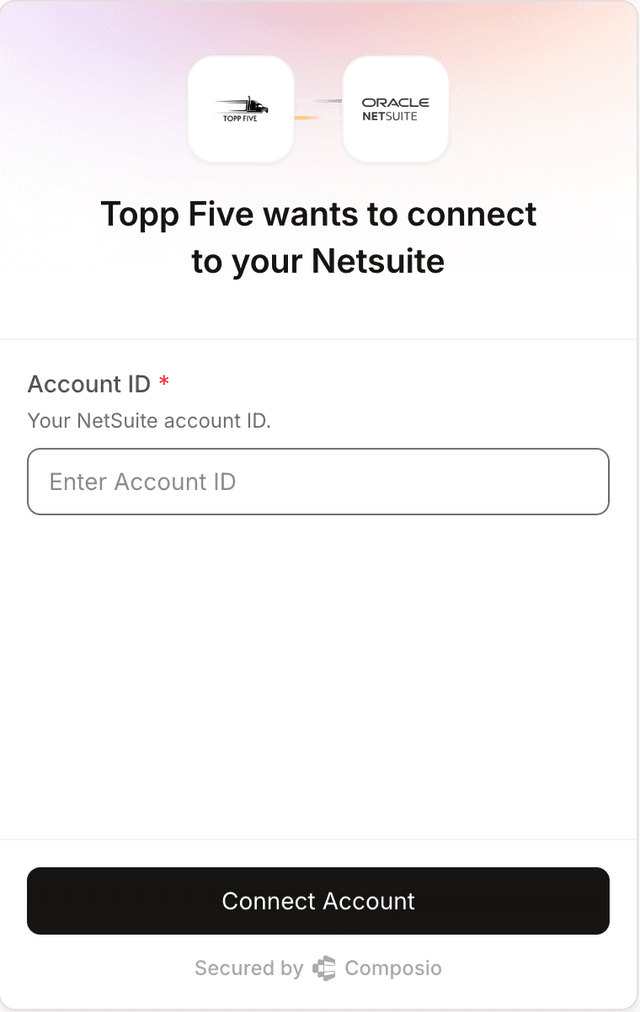
- Enter your Account ID (from Step 3) and click Connect Account
- You'll be redirected to NetSuite to authorize access — click Allow
- After authorizing, you'll be returned to ToppFive with NetSuite connected
Troubleshooting
“Invalid redirect URI” error
Double-check that the Redirect URI in your Integration Record is exactly https://backend.composio.dev/api/v3/toolkits/auth/callback — no trailing slashes or extra characters.
“Insufficient permissions” error
Make sure the NetSuite user authorizing the connection has a role with sufficient permissions to access the records you need (invoices, items, customers, etc.).
Lost your Client Secret
The Client Secret is only shown once when you create the Integration Record. If you've lost it, go to Setup > Integration > Manage Integrations, delete the old record, and create a new one.
OAuth 2.0 feature not available
Ensure you've enabled OAuth 2.0 under Setup > Company > Enable Features > SuiteCloud. Some NetSuite editions may require a specific license level.
Already connected without the RESTlets scope?
Open your Integration Record (Setup > Integration > Manage Integrations), check the RESTlets scope, save, then click Reconnect on the NetSuite card in ToppFive. Your existing data and indexes are preserved. After reconnecting, install the Definition Reader script from the NetSuite card to unlock saved-search and financial-report parity.
scope_mismatch error when connecting
NetSuite returns this when the scopes ToppFive requests aren't all checked on your Integration Record. By default ToppFive requests REST Web Services and RESTlets. If you ticked the My NetSuite has SuiteAnalytics Connect enabled opt-in on the Connect dialog, it also requests SuiteAnalytics Connect. Open your Integration Record (Setup > Integration > Manage Integrations), confirm every requested scope is checked (and save), then click Reconnect. Extras on the Integration Record don't cause this error — only missing ones do. If you don't actually have SuiteAnalytics Connect, untick the opt-in in the dialog instead.
Do I need SuiteAnalytics Connect?
No, not for core accuracy. Report parity comes from the RESTlets scope and the ToppFive Definition Reader script — those read your existing saved searches and financial reports exactly as you built them, for 1:1 parity with your NetSuite numbers. SuiteAnalytics Connect is an optional paid add-on; turn it on only if it's already licensed on your account and you want authoritative foreign-key joins plus the ability to run queries larger than 100,000 rows. To enable it, check the SuiteAnalytics Connect scope box on your Integration Record and tick the matching opt-in on the Connect NetSuite dialog in ToppFive.
Need help? Reach out to us and we'll walk you through the setup.
Contact Support